
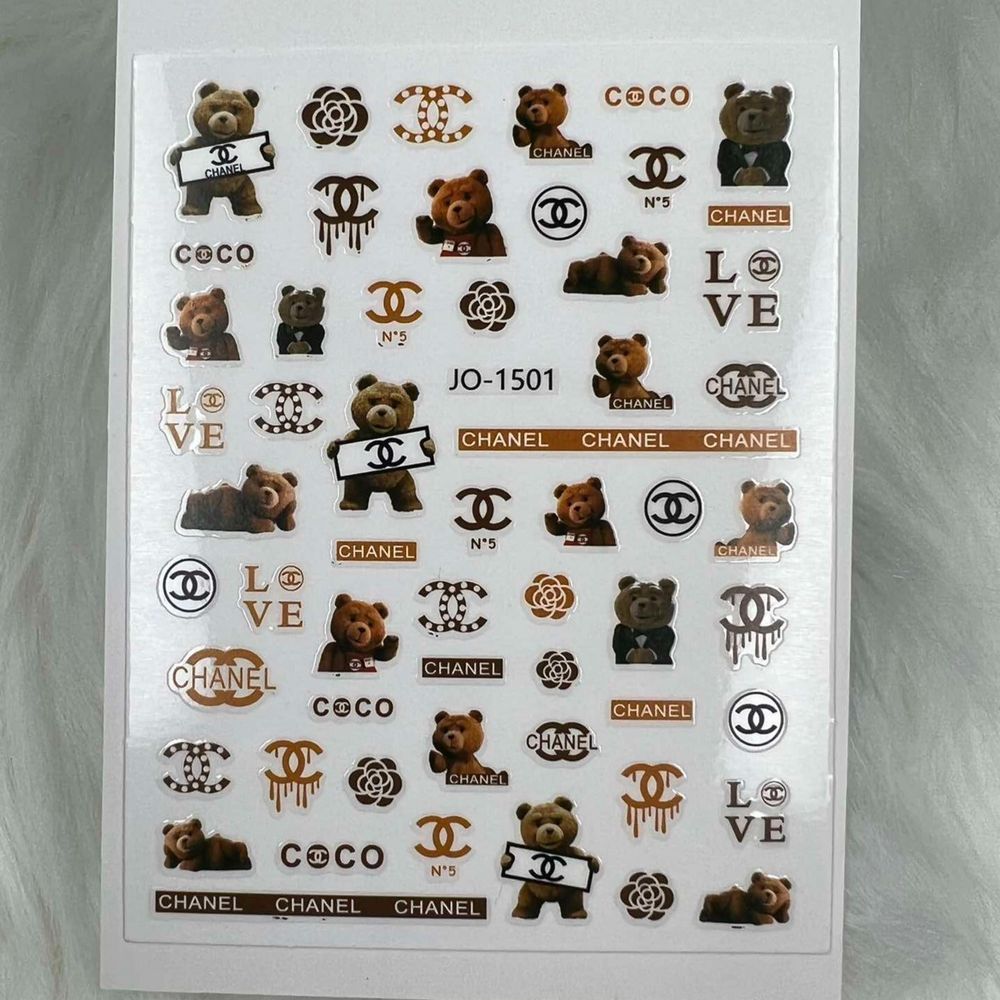
Small logo decals can transform a manicure from plain to polished in minutes—if you apply them the right way. This guide breaks down how to get crisp, long-lasting results with logo nail stickers whether you’re working on clients or doing your own nails at home.
Why logo nail stickers work for pro-looking manicures
Logo nail stickers are an easy design shortcut: they add precise artwork without hand-painting. These thin decals adhere directly to the nail surface and allow you to deliver consistent branding or intricate motifs quickly. Since this product is sold as a nail sticker sheet, it’s ideal for repeating looks across multiple nails or clients.
Tools and basic prep
Before you start, gather the essentials: a clean workspace, nail file, buffer, cuticle pusher, base coat, top coat, small scissors or tweezers, and a lint-free wipe. Good preparation is the foundation of a long-lasting application. Gently push back cuticles and remove oils from the nail plate to help the sticker bond.
Step-by-step application (salon or home)
Follow these simple stages for a neat finish. Practice on one nail first to get a feel for placement and pressure.
- Prep the nail: File and buff lightly to create a smooth surface. Apply a thin base coat and allow it to dry to the touch—this helps the sticker adhere evenly.
- Select and trim: Peel the sticker from the sheet. If needed, trim excess material so the decal matches the nail size and shape.
- Place the sticker: Use tweezers or fingers to position the sticker on the nail. Start near the cuticle and smooth toward the free edge to avoid air pockets.
- Seal the edges: Gently press the sticker edges with a soft tool or finger to ensure they lay flat. If small wrinkles appear, a tiny lift-and-reposition usually fixes them.
- Finish with top coat: Apply one or two thin layers of a high-quality top coat to protect the decal and create a level surface. Allow adequate drying time between layers.
If you’re shopping for supplies, a single-sheet logo nail sticker like this one is easy to keep in a kit and priced affordably; the current listed price is $1.99.
Placement ideas and design tips
Logo decals are versatile. Try these approaches to vary your looks:
- Accent nail: Apply the logo to just one nail per hand for a subtle statement.
- Full set repeat: Use the same logo across all nails for branded or event looks.
- Layering: Place decals over sheer or colored polish to change contrast and depth.
- Negative space: Apply around unpainted areas for a contemporary feel.
Common problems and quick fixes
Even with thin decals, small issues can arise. Here’s how to handle them without starting over:
- Air bubbles: Gently lift the edge nearest the bubble and smooth outward, or press with a soft tool to redistribute the air.
- Sticker peeling at edges: Re-press the edge and add a thin layer of top coat focused on the perimeter.
- Sticker too large: Trim carefully with small scissors before placement for a custom fit.
Who should use logo nail stickers?
These decals are great for busy nail professionals who need repeatable, branded artwork, and for home users who want pro-style designs without hand-painting. Students practicing nail art will also find stickers useful for learning placement and finishing techniques. They work well in salon retail kits for clients who want to touch up or reapply between visits.
Care, removal, and safety notes
To keep the decal looking fresh, recommend that clients avoid long exposure to harsh chemicals and use gloves when cleaning. For removal, start by filing the top coat gently to break the seal, then soak or apply polish remover according to the remover product’s directions—avoid forceful peeling to protect the natural nail. Do not apply stickers over broken or irritated skin, and discontinue use if irritation occurs.
Where to buy and product details
Look for a sheet that fits your intended use—brand-focused designs, mixed sizes, or simple logos. For a straightforward option to add to kits or retail shelves, consider a single logo nail sticker sheet like the one offered by Dynamic Nail Supply; you can find a compact sheet suitable for quick application with steady results. logo nail sticker
Final tips for salon-standard results
Consistency comes from prep and finishing. Keep a steady hand when applying base and top coats, use thin layers rather than heavy ones, and store sticker sheets flat in a cool, dry place. With a little practice, logo nail stickers will help you produce crisp, repeatable designs quickly and efficiently.
Whether you’re outfitting a professional kit or experimenting at home, these stickers are a fast way to achieve a signature look with minimal tools.