Want to give your manicure a gothic, punk, or Y2K edge with minimal fuss? Single loop nail charms let you add dangling chains and tiny accents to any set of nails, creating a pierced-look aesthetic without body modification. This guide explains the terms, shows step-by-step how to use them, and covers care and safety for first-time users.
What are single loop nail charms?
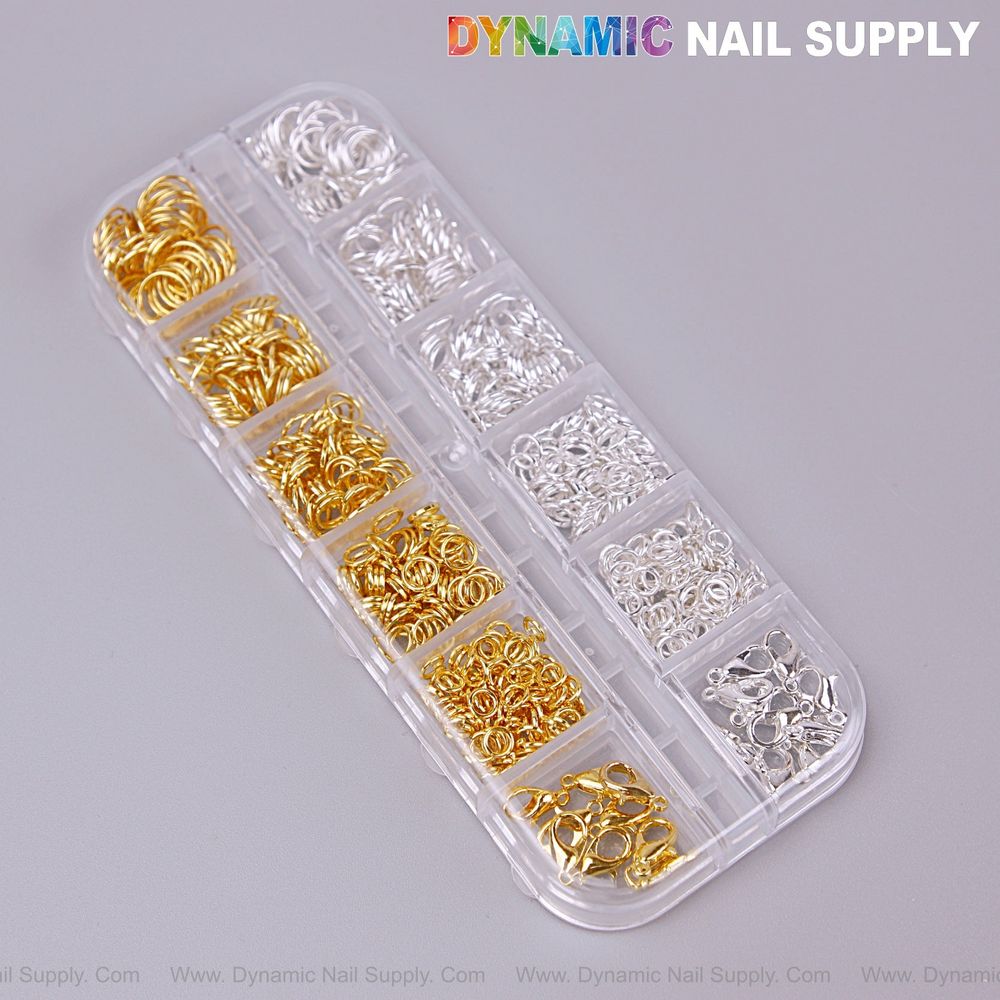
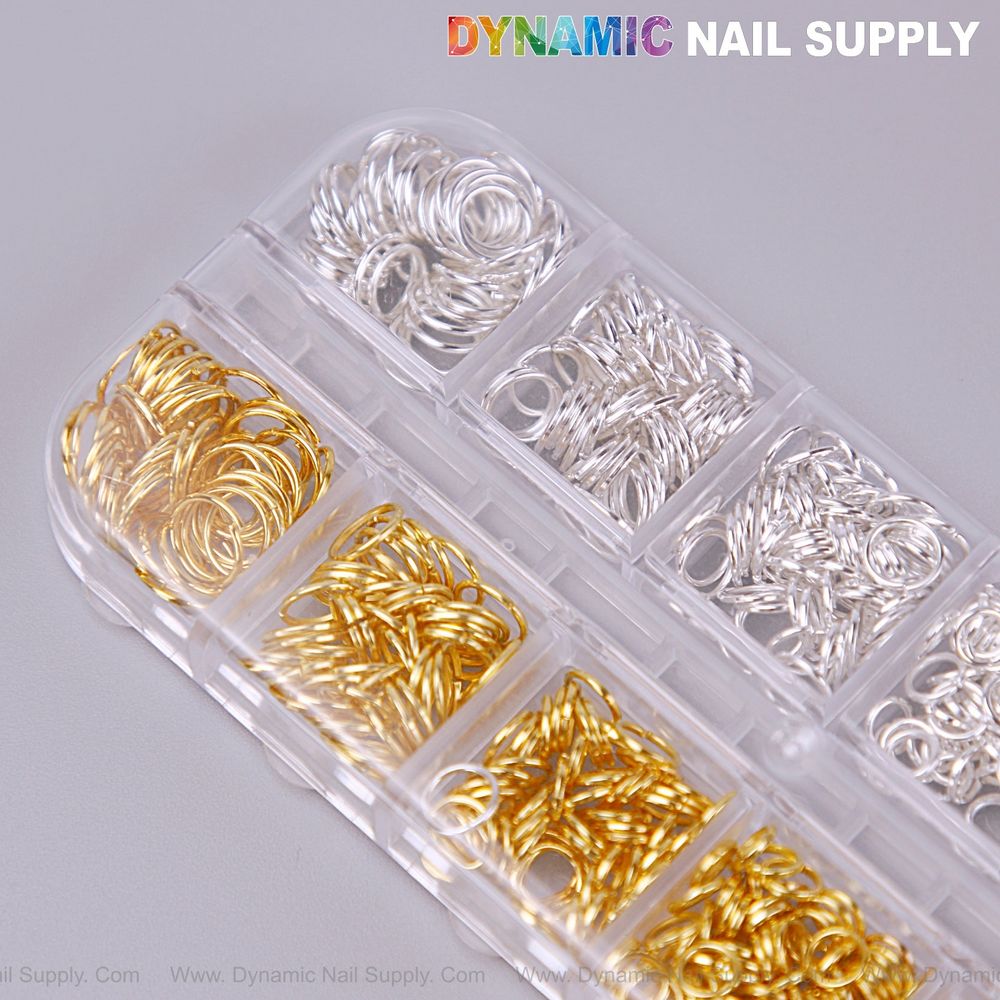
Single loop nail charms are small decorative pieces designed to attach to the edge or surface of a nail using a single hook or loop. They often include short chains, rings, or decorative pendants in finishes like gold or silver and are frequently described as 3D nail charms in product listings. These charms are made to be lightweight and visually striking, letting you achieve a pierced or dangling style on tips, extensions, or natural nails.
Key terms explained
- Loop – the circular or semi-circular part that sits on or through the nail surface and secures the charm.
- Hook – a small curved attachment that can clip into a loop or slot in the nail enhancement.
- Chain – short linked strands that create movement and the dangling effect.
- Piercing-look – an aesthetic that mimics pierced jewelry on a nail without actually piercing skin.
What you’ll need before you start
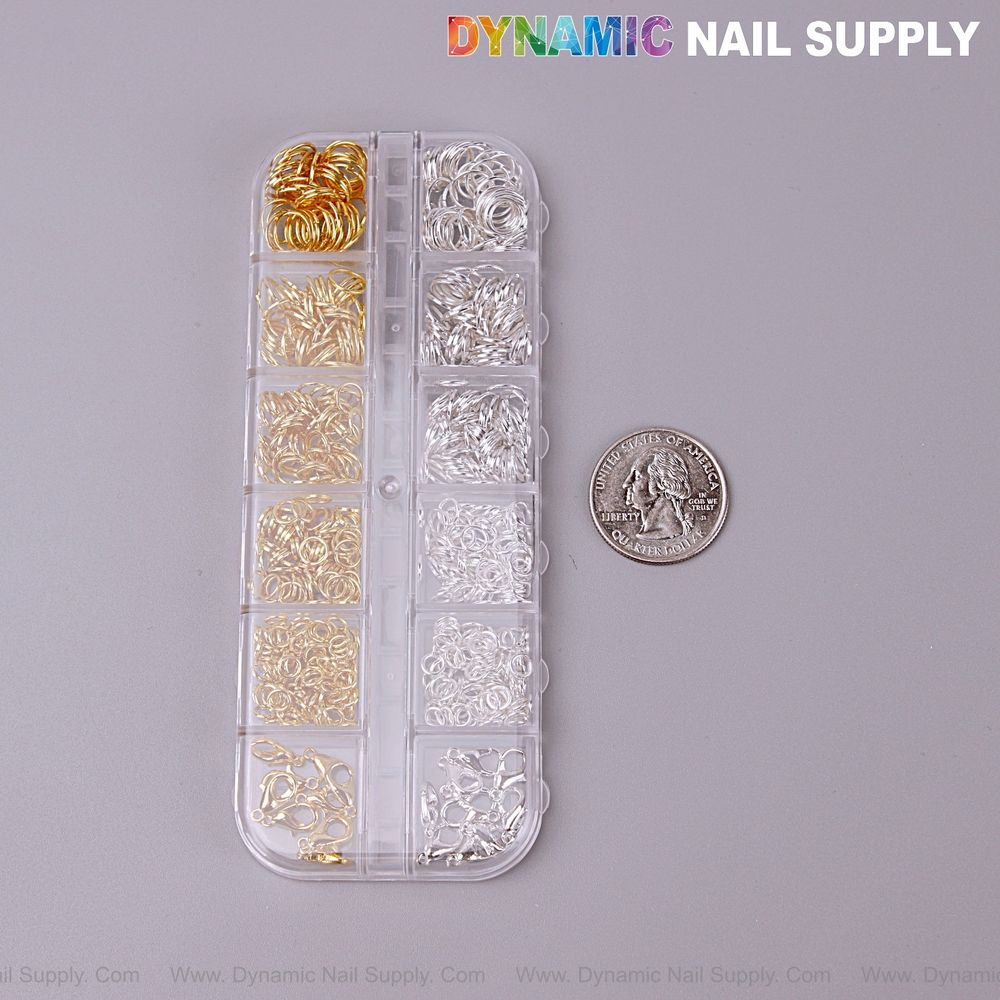
Keep your kit simple: a clean nail surface (natural or extension), nail adhesive or gel suitable for attaching charms, tweezers or a pick for precise placement, and a top coat or builder gel to seal. If you prefer to buy rather than source pieces separately, order these single loop charms and have the charms on hand before you begin.
Step-by-step: how to attach single loop nail charms
- Prep the nail. Clean the nail surface and remove oils with a wipe or alcohol. For best adhesion, work on cured gel or fully dried polish.
- Plan placement. Hold the charm above the nail to visualize how it will hang. Common spots: the free edge for a dangling chain, the sidewall for a subtle accent, or the center on a longer tip.
- Apply adhesive. Use a small dot of nail glue or a dab of tacky gel where the loop will sit. Less is more—too much adhesive will look messy and can overflow around the charm.
- Position the charm. Pick up the charm with tweezers and gently press the loop or hook onto the adhesive point. Hold steady for a few seconds until the bond sets.
- Secure and seal. Lightly encapsulate the base of the charm with a clear builder gel or a few brushstrokes of top coat to lock it in place. Cure if using gel products according to the lamp’s instruction.
- Finish the surrounding nail. Apply a final top coat over the nail (avoiding heavy coating of moving chain links) to blend the accessory into the manicure.
Practical tips for beginners
- Start with a single accent nail—one charm is easier to manage than several when you’re learning placement and durability.
- Choose lighter charms for natural nails; heavier chains work better on extensions or reinforced gel nails.
- For symmetrical looks, measure placement visually against the opposite nail before gluing.
- Work in a well-lit area and use fine-point tweezers for precise control of tiny loops and hooks.
Care and safety notes
Although these charms create a pierced look, they do not require body piercing. Treat them like any other nail jewelry: avoid twisting or yanking the chain, and remove gently when ready to change your style. If a charm becomes loose, remove it rather than leaving it to fall off. Keep charms away from very young children to prevent accidental swallowing.
If you’re unsure about using adhesive products, follow the manufacturer’s instructions for the glue or gel you choose and patch-test if you have sensitive skin or allergies. For professional applications, consider having a licensed nail technician attach heavier pieces to ensure longevity and safety.
Who should use single loop nail charms?
These charms are ideal for beginners who want a bold, alternative look without permanent body modifications. They also suit nail artists building a punk, goth, or Y2K portfolio and clients who like seasonal or event-driven accents. Salon professionals can offer them as a quick add-on service for clients seeking statement nails.
Key features in context
- Versatility – work on natural nails, tips, or extensions when proper adhesion is used.
- Style variety – chains, hooks, and single loops lend themselves to gothic, punk, and vintage Y2K looks.
- Affordability – these decorative pieces let you experiment with bold styles without a large investment; current pricing is listed at $5.99 but may change.
Quick removal and storage
Soak the decorated nail in acetone or follow your salon’s removal method for the adhesive used, then gently pry off any remaining metal. Store unused charms in a small container or jewelry box to prevent tangling and loss.
Single loop nail charms let you experiment with dangling chains and punk-inspired accents in a controlled, reversible way. With basic tools, a bit of practice, and attention to safe attachment, beginners can achieve striking pierced-look manicures at home or in the salon. Dynamic Nail Supply offers these styles for artists and enthusiasts looking to add edge to their sets.
Conclusion
Once you understand loops, hooks, and placement, single loop nail charms become a quick, impactful way to elevate a manicure. Start simple, secure each piece carefully, and enjoy a dramatic, non-permanent pierced look that suits many styles.